Pressure canning for beginners: low-acid food, the 10-minute vent, and a gauge you can trust
The pressure canner is what puts green beans, broth and chili on the storage shelf, and it runs on a short list of rules that never bend.
In this article
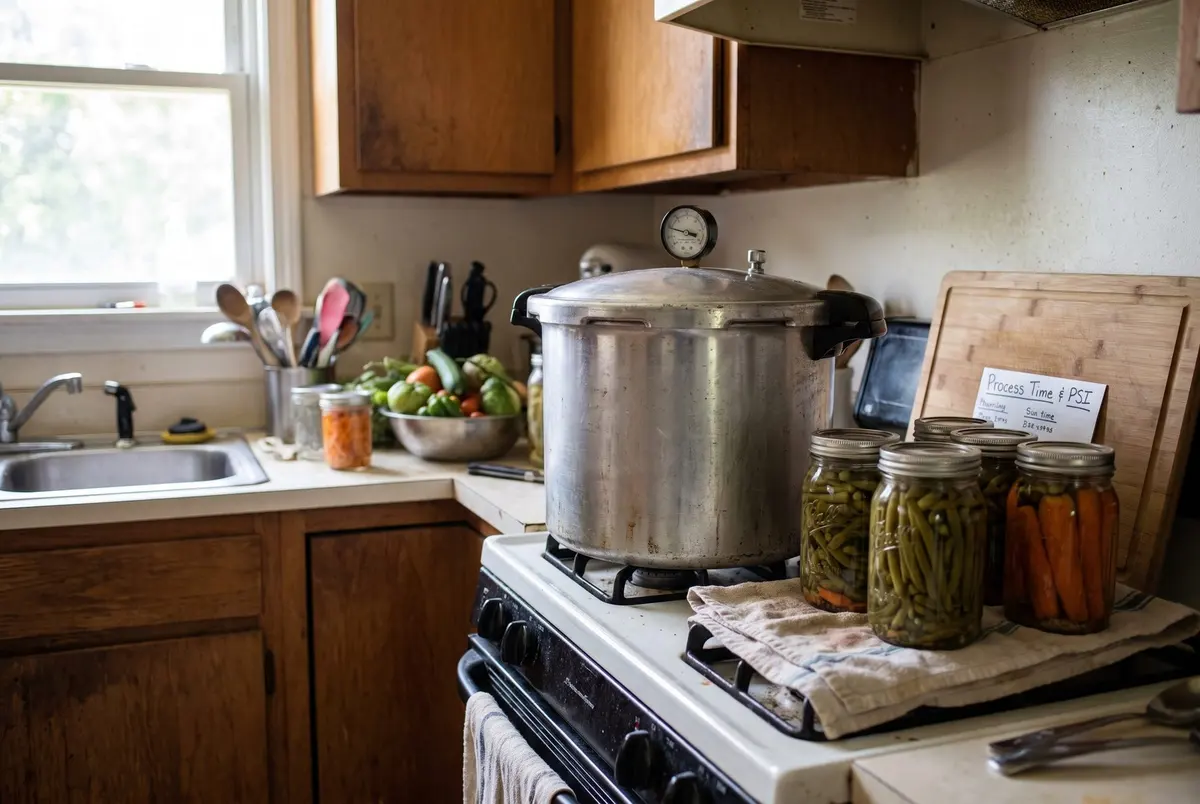
Pressure canning is the only safe home method for low-acid foods such as vegetables, dry beans, meat, poultry, fish and broth. A pressure canner traps steam to reach about 240°F, a temperature boiling water cannot reach, and that heat is what destroys botulism spores. The method is simple: follow a tested recipe, vent the canner for 10 minutes, hold the pressure for the full time, and let it cool down on its own.
Project 32 of The Off-Grid Handbook calls the pressure canner the single biggest capability jump in the food system. The book budgets half a day and about $120 for the first batch, and its field note says the half day is the learning curve, not the labor.
Low acid foods canning: why pressure is required
The bacterium behind botulism, Clostridium botulinum, lives in soil and forms spores that shrug off boiling. The USDA names green beans, corn, beets and peas among the low-acid vegetables at risk. Sealed in a jar without oxygen and without enough acid, surviving spores can produce a toxin that is invisible, tasteless and severe.
At sea level, the NCHFP says a canner at 10.5 pounds of pressure reaches 240°F inside. That temperature, held for the tested time, is what makes low-acid food shelf-stable. Fruits, jams and pickles have enough acid to use the faster method in water bath canning for beginners.
Pressure canner vs pressure cooker
The book puts it in one line: a pressure cooker is not a canner. USDA processing times were developed for stovetop pressure canners that hold at least four quart jars standing upright, and the NCHFP says smaller pressure saucepans are not recommended for canning.
Electric multi-cookers with a "canning" button are not a substitute either. The NCHFP does not support using USDA canning processes in them, because reaching a pressure reading does not prove the food in the jars heats the way it does in a tested canner.
Canners come with one of two gauges. A weighted gauge rocks or jiggles to hold pressure and never needs testing. A dial gauge shows the exact pressure and allows finer adjustments for altitude, but it has to be checked every year.
Dial gauge testing
A dial gauge that reads high is dangerous, because the canner is actually running at lower pressure than you think and the food is under-processed. The NCHFP says to check dial gauges for accuracy before use each year. Many county Cooperative Extension offices test them, or the manufacturer can.
If the gauge is off by up to 2 pounds, you can adjust for it. If it is off by more than 2 pounds, replace it. Check the rubber gasket at the same time, since a nicked or dried gasket leaks steam.
Pressure canning step by step
- Read the canner manual once, end to end. Then pick a tested NCHFP or USDA recipe for your food, jar size and altitude.
- Put the rack and 2 to 3 inches of water in the canner, or the amount your recipe says. Heat it to about 180°F for hot-packed food or 140°F for raw-packed food.
- Load the filled, lidded jars upright with a jar lifter, then lock the lid on with the weight off or the petcock open.
- Heat on high until steam flows in a steady funnel from the vent, then let it vent for a full 10 minutes. Trapped air lowers the temperature inside and leads to under-processing.
- Put the weight on or close the petcock. The canner will come up to pressure over the next several minutes.
- Start timing when the gauge reaches the recipe pressure, or when the weight starts to rock as the manual describes. Adjust the heat to hold steady pressure.
- If pressure drops below the target, bring it back up and restart the full time from zero.
- Turn off the heat and let the canner cool until it is fully depressurized. Never run cold water over it or force the lid.
- Remove the weight, wait 10 minutes, then open the lid with the underside facing away from you so the steam misses your face.
- Set the jars on a towel 1 inch apart for 12 to 24 hours, then check the seals, label, date and shelve them.
The book adds one habit: log each batch with the food, the recipe source, the date and the jar count. The emergency binder is the natural place for it.
Altitude: pressure goes up as you go up
Above sea level, the same gauge reading gives a lower temperature inside the canner, so tested recipes call for more pressure. In the USDA tables, a dial-gauge canner's pressure rises about one pound for each 2,000 feet of elevation.
A weighted-gauge canner cannot make small steps. Above 1,000 feet the NCHFP says to move up to the next weight: 10 pounds instead of 5, or 15 instead of 10. Always read the exact figure from your recipe's altitude column.
Never taste a suspect jar
Throw out, without tasting, any jar with a bulging lid, a broken seal, spurting liquid, cloudy liquid that should be clear, or an off smell. The USDA advises double-bagging suspect jars before they go in the trash. No untested recipes, no oven canning and no dishwasher canning, ever.
As an extra layer, the USDA advises boiling home-canned low-acid food for 10 minutes at altitudes below 1,000 feet, plus 1 minute for each additional 1,000 feet, before eating it if there is any chance the process went wrong. The USDA is clear that this is not a fix for food known to be under-processed. Correct processing is the protection.
Done right, a pressure canner turns a garden into meals that sit on a shelf for a year. Rotate the jars on a DIY can rotation rack and count them toward your 30-day food supply.
Frequently asked questions
Can you use a pressure cooker for canning?
No. USDA canning times were developed for stovetop pressure canners that hold at least four quart jars upright. The National Center for Home Food Preservation does not recommend smaller pressure saucepans and does not support using USDA canning processes in electric multi-cookers, even ones with a canning button, because the jars may not heat the way they do in a tested canner.
What foods must be pressure canned?
All low-acid foods: vegetables such as green beans, corn, carrots and peas, dry beans, meat, poultry, fish, soups and broths, and tomatoes canned without added acid. These foods can carry botulism spores that survive boiling water. Only the 240°F reached inside a pressure canner, held for the tested time, makes them safe to store on a shelf.
How often should a dial gauge be tested?
Every year, before the first use of the season. A gauge that reads high means the canner is actually at lower pressure and the food may be under-processed. Many county Cooperative Extension offices test gauges. If it reads off by up to 2 pounds you can adjust; if it is off by more, replace the gauge.
Why do you vent a pressure canner for 10 minutes?
Air trapped inside a pressure canner lowers the temperature reached at a given pressure, which can leave food under-processed. Letting steam flow freely from the open vent for a full 10 minutes pushes that air out before you add the weight or close the petcock. The USDA recommends venting every type of pressure canner this way.
Sources
- The Off-Grid Handbook, Garrett Dalton, Project 32
- NCHFP: How to Use Boiling Water and Pressure Canners
- NCHFP: Canning in Electric Multi-Cookers
- NCHFP: Selecting the Correct Processing Time
- USDA FSIS: Shelf-Stable Food Safety
Safety guidance changes. Check the agency pages above for the current version, and follow your local code and manufacturer instructions.