Water bath canning for beginners: what you can can, and the steps that keep it safe
A deep pot, a rack and a tested recipe turn high-acid food into jars that keep on an unpowered shelf.
In this article
Water bath canning is safe only for high-acid foods: fruits, jams and jellies, pickles, and tomatoes with added acid. You pack hot jars following a tested recipe, cover them with at least 1 inch of boiling water, and boil them for the full published time, adding minutes if you live above 1,000 feet. Vegetables, meats, beans and soups are low-acid and need a pressure canner instead.
Project 31 of The Off-Grid Handbook calls this the entry point to all food preservation: about 30 minutes of active work per batch and roughly $50 in equipment, per the book. The rules below come from the USDA and the National Center for Home Food Preservation (NCHFP), and none of them are optional.
What can you water bath can?
Acid is the safety system. Botulism spores can survive a boiling water bath in low-acid food, but they cannot grow in food that is acidic enough. That is why the line between the two lists below never moves.
| Safe in a boiling water canner | Pressure canner only |
|---|---|
| Fruits and fruit juices | Vegetables such as green beans, corn, carrots |
| Jams, jellies and fruit spreads | Dry beans and peas |
| Pickles and relishes made with vinegar | Meat, poultry and fish |
| Tomatoes, with added lemon juice or citric acid | Soups, stocks and plain tomatoes with no added acid |
Tomatoes sit right on the line, so they always get extra acid. The NCHFP says to add 2 tablespoons of bottled lemon juice or 1/2 teaspoon of citric acid per quart of whole, crushed or juiced tomatoes. Use bottled lemon juice, because its acidity is consistent and fresh lemons vary.
What you need
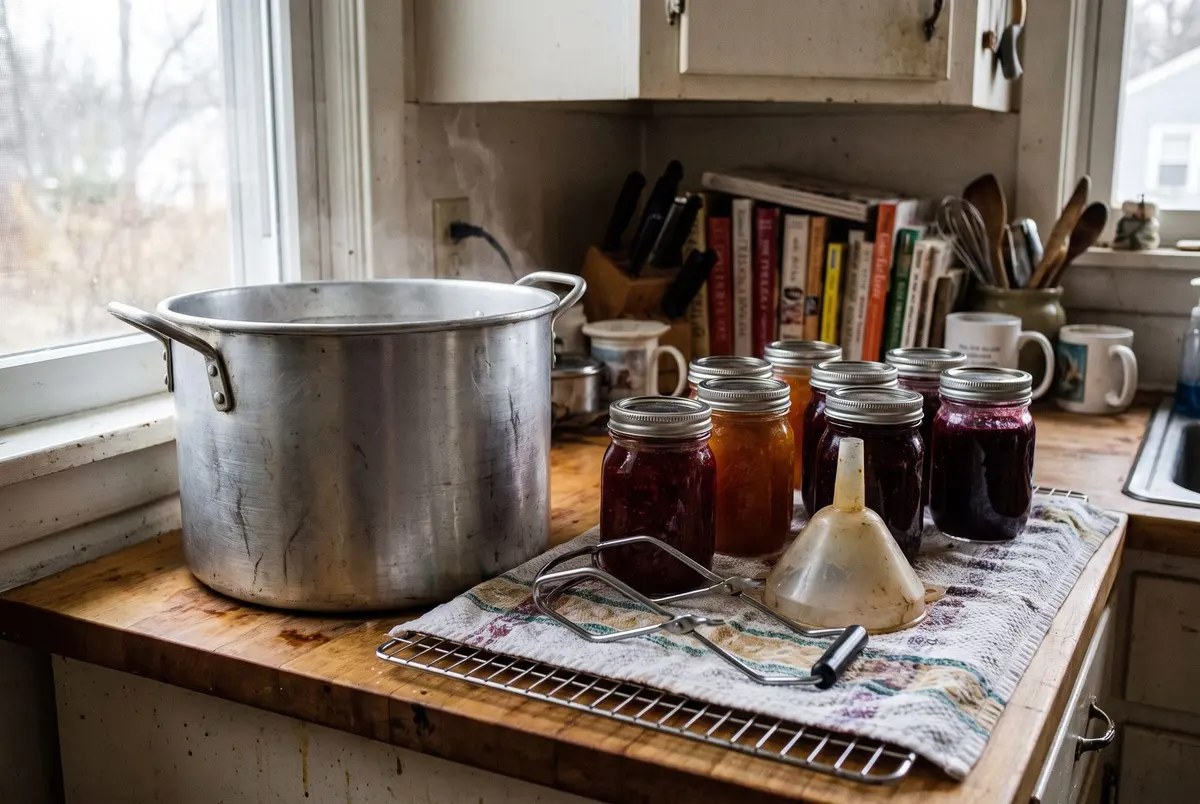
- A deep stock pot with a rack, or a dedicated water bath canner, deep enough for 1 inch of boiling water over the jar tops
- A jar lifter, a wide-mouth funnel and a headspace tool
- Mason jars with new two-piece lids (the flat lids are single-use; the rings can be reused)
- Bottled lemon juice or vinegar with 5% acidity, if the recipe calls for added acid
- A tested recipe from the NCHFP or the USDA Complete Guide to Home Canning
On an electric range, the NCHFP says the canner needs a flat bottom and should be no more than 4 inches wider than the burner. Gas burners can take a flat or ridged bottom.
Water bath canning step by step
- Choose a tested recipe and follow it exactly: jar size, headspace, processing time and the altitude adjustment.
- Set the rack in the canner and fill it about halfway with water. Preheat to about 140°F for raw-packed food or 180°F for hot-packed food.
- Fill hot jars with hot food, leaving the headspace the recipe specifies. Wipe the rims clean and screw the rings on fingertip-tight.
- Load the jars upright into the canner with a jar lifter. Add hot water until it covers the jar tops by at least 1 inch, or 2 inches if the processing time is over 30 minutes.
- Cover and bring to a full rolling boil, then start the timer. If the boil stops at any point, bring it back and restart the time from the beginning.
- When time is up, turn off the heat and take the lid off. Wait 5 minutes before lifting the jars out.
- Set the jars on a towel, 1 inch apart, and leave them alone for 12 to 24 hours.
- Check every seal. The lid should be pulled down and not flex when pressed. Refrigerate and use any jar that did not seal.
Headspace: how much room to leave in the jar
Headspace is the gap between the top of the food and the rim of the jar. Too little, and food can bubble up under the lid and spoil the seal. Too much, and leftover air can keep the jar from sealing or discolor the food.
The NCHFP's general guide is 1/4 inch for jams and jellies and 1/2 inch for fruits and tomatoes. Your recipe's number always wins, and a cheap plastic headspace tool makes it a measurement instead of a guess.
Altitude adjustment for canning
Water boils at a lower temperature the higher you live, so the jars spend less heat on the food each minute. Tested recipes make up for it with longer processing times above 1,000 feet. The NCHFP warns that skipping this adjustment can lead to spoiled food.
Hot-packed peaches in quart jars show how it works in the NCHFP tables:
- 0 to 1,000 feet: 25 minutes
- 1,001 to 3,000 feet: 30 minutes
- 3,001 to 6,000 feet: 35 minutes
- Above 6,000 feet: 40 minutes
Look up your elevation once and write it inside the cover of your canning binder. Every recipe after that is a single table lookup.
Storing jars, and spotting a bad one
The book's field note is practical: label every jar with its contents and the month. A shelf of anonymous jars is a memory test you will eventually fail. The USDA suggests using home-canned food within about 12 months, stored somewhere cool, dry and dark.
Throw out, without tasting, any jar with a bulging lid, liquid that spurts when opened, or an off smell. The USDA advises double-bagging suspect jars before they go in the trash, so no person or animal gets into them.
Finished jars slot into the same rotation as store-bought cans on a DIY can rotation rack and count toward a 30-day food supply. Keep a batch log in your emergency binder. When you are ready for vegetables, beans and broths, the next step is pressure canning for beginners.
Frequently asked questions
What can you water bath can?
Only high-acid foods: fruits and fruit juices, jams and jellies, pickles and relishes made with vinegar, and tomatoes with added lemon juice or citric acid. Low-acid foods such as vegetables, beans, meats, poultry, fish and soups must be processed in a pressure canner, because a boiling water bath cannot destroy botulism spores in them.
Do you need a special canner for water bath canning?
No. Any pot works if it has a rack to keep jars off the bottom and is deep enough to cover the jars with at least 1 inch of boiling water, plus room to boil. On an electric range, use a flat-bottomed pot no more than 4 inches wider than the burner so the jars heat evenly.
What is headspace in canning?
Headspace is the empty space between the food and the rim of the jar. The National Center for Home Food Preservation recommends 1/4 inch for jams and jellies and 1/2 inch for fruits and tomatoes, unless your tested recipe says otherwise. Correct headspace helps the jar form a vacuum seal during cooling.
How do you adjust water bath canning for altitude?
Above 1,000 feet, water boils at a lower temperature, so tested recipes add processing time. Use the altitude column in your recipe's table. For example, hot-packed peaches in quarts take 25 minutes up to 1,000 feet, 30 minutes at 1,001 to 3,000 feet, 35 minutes at 3,001 to 6,000 feet, and 40 minutes above that.
Can you water bath can vegetables?
No, not plain vegetables. Vegetables are low-acid, and botulism spores can survive boiling water in them. They need a pressure canner, which reaches about 240°F. The exception is pickled vegetables made from a tested recipe with enough vinegar, which are acidic enough for a boiling water bath.
Sources
- The Off-Grid Handbook, Garrett Dalton, Project 31
- NCHFP: How to Use Boiling Water and Pressure Canners
- NCHFP: Selecting the Correct Processing Time
- NCHFP: Canning Tomatoes, Introduction
- NCHFP: Ensuring High-Quality Canned Foods
- USDA FSIS: Shelf-Stable Food Safety
Safety guidance changes. Check the agency pages above for the current version, and follow your local code and manufacturer instructions.